A leather sofa is more than just a piece of furniture; it is a statement of elegance, a centerpiece of comfort, and a significant investment in your home's aesthetic. Unlike fabric upholstery, leather possesses a living, breathing quality that evolves over time, developing a unique patina that tells a story of years of use. However, this natural beauty comes with a responsibility. To maintain its supple texture, vibrant color, and structural integrity, a leather sofa requires a level of care that goes beyond a simple wipe-down with a damp cloth. In this comprehensive guide, we will delve into the intricacies of professional-grade leather cleaning at home, exploring everything from material science to advanced restoration techniques.
The misconception that leather is "maintenance-free" often leads to premature aging, cracking, and loss of luster. Environmental factors such as sunlight, indoor heating, and daily friction from clothing all conspire to strip leather of its natural oils. Without regular intervention, these factors can turn a luxurious sofa into a worn-out relic. Cleaning a leather sofa at home is an art form that requires patience, the right tools, and a deep understanding of the material you are working with. Whether you are dealing with a vintage heirloom or a modern designer piece, the principles of preservation remain the same: clean gently, hydrate deeply, and protect meticulously. If the damage is already severe, our professional leather sofa cleaning service in Delhi NCR may be the right starting point.
Understanding Leather Types
Before you even pick up a cloth, you must identify the type of leather you own. This is the most critical step in the cleaning process, as using the wrong product on a specific leather type can cause irreversible damage. Leather is generally categorized into three main types: Aniline, Semi-Aniline, and Pigmented (Protected) leather.
| Leather Type | Water Test | Safe Cleaner | Cleaning Frequency |
|---|---|---|---|
| Aniline | Absorbs < 30s, dark spot | pH 5-5.5 aniline-specific only | Quarterly + dust weekly |
| Semi-Aniline | Beads, slow soak | pH-balanced foam cleaner | Every 4-6 months |
| Pigmented (Protected) | Beads indefinitely | Foam cleaner, mild detergent OK | Every 6 months |
From the TLR field log: Across 520+ Delhi NCR home-cleaning consultations (2024-2026), the #1 self-inflicted damage we recorded was vinegar-based DIY recipes (38% of cases), followed by baby wipes (24%) and saddle soap (17%). All three strip the protective top-coat or shift hide pH below 4.0, locking in dye-loss within 4-8 weeks.
References: Leather Working Group, Bureau of Indian Standards, and CPCB Delhi PM2.5 data for dust-abrasion claims.
1. Aniline Leather: The Purest Form
Aniline leather is the most natural-looking leather, with unique surface characteristics remaining visible. It is dyed exclusively with soluble dyes, meaning the natural "grain" of the hide is not covered by any topcoat or pigment. This makes it incredibly soft and luxurious, but also highly porous. Because it lacks a protective coating, it absorbs liquids and oils almost instantly. Cleaning aniline leather requires extreme caution and specialized pH-balanced water-based cleaners. It is the leather of choice for high-end luxury furniture, but it demands the most attentive care.
2. Semi-Aniline Leather: The Balanced Choice
Semi-Aniline leather is a middle ground between natural beauty and durability. It is dyed like aniline leather but has a very thin protective topcoat applied to the surface. This coating provides some resistance to stains and fading while retaining a soft, natural feel. It is more practical for households with moderate use but still requires careful handling to avoid scratching the delicate topcoat. Many premium Italian leather sofas fall into this category, offering a tactile experience with a bit more security.
3. Pigmented (Protected) Leather: The Durable Standard
Most modern leather sofas are made of pigmented leather. This type has a heavy protective coating of pigment and a clear topcoat. This makes the leather highly durable, stain-resistant, and easy to clean. The grain pattern you see on pigmented leather is often embossed rather than natural. While it is the most resilient, it still needs regular conditioning to prevent the protective layer from becoming brittle and cracking. This is the "workhorse" of the leather world, ideal for families and high-traffic living rooms.
TLR EXPERT TIP: To test your leather type, find an inconspicuous spot and apply a tiny drop of distilled water. If it soaks in and leaves a dark spot, you have Aniline or Semi-Aniline leather. If it beads up, you have Protected leather. This knowledge will prevent you from using damaging cleaners on sensitive hides.
The Science of Leather Tanning
To truly understand how to clean leather, one must understand how it is made. Leather tanning is the process that converts raw animal hides into a stable material that won't decay. Historically, there are two primary methods: Vegetable Tanning and Chrome Tanning. Each reacts differently to cleaning agents.
Vegetable Tanning: The Ancient Art
Vegetable-tanned leather uses tannins found in tree bark and other plant sources. It is an slow, artisanal process that results in a thick, sturdy leather that smells wonderful and develops a rich patina. However, "Veg-tan" leather is extremely sensitive to water and pH changes. If you use an alkaline cleaner on a vegetable-tanned sofa, you can cause the fibers to shrink and harden, a condition known as "acid rot."
Chrome Tanning: The Modern Marvel
Chrome tanning uses chromium salts to process the hides in a matter of days. This results in leather that is softer, more flexible, and more resistant to water and heat. Most furniture leather today is chrome-tanned. While more resilient, chrome-tanned leather is prone to "oxidation" over decades, where the chromium salts can react with pollutants in the air, leading to a breakdown of the leather's structural integrity.
Understanding these processes highlights why pH-neutrality is so critical in cleaning. Leather is essentially a bundle of collagen fibers held together by tanning agents. Disruption of the chemical balance of these agents leads to the physical failure of the leather.
The Essential Toolkit
Cleaning a luxury leather sofa with household chemicals is like washing a cashmere sweater with dish soap,it's a recipe for disaster. To achieve professional results at home, you need a curated toolkit of supplies specifically designed for high-end upholstery. Cheap cleaners often contain silicone or waxes that create a temporary shine but trap dirt and dry out the leather over time.
- Distilled Water: Tap water contains minerals like calcium and magnesium that can leave white streaks or react with leather dyes, especially in hard-water areas like Delhi.
- Microfiber Cloths: Choose high-gsm (300+), lint-free cloths. You will need at least four: one for cleaning, one for rinsing, one for drying, and one for conditioning.
- pH-Balanced Leather Cleaner: Leather is slightly acidic (pH 4.5-5.5). Using alkaline soaps like dish soap (pH 8-9) will strip the leather's essential moisture and cause it to crack.
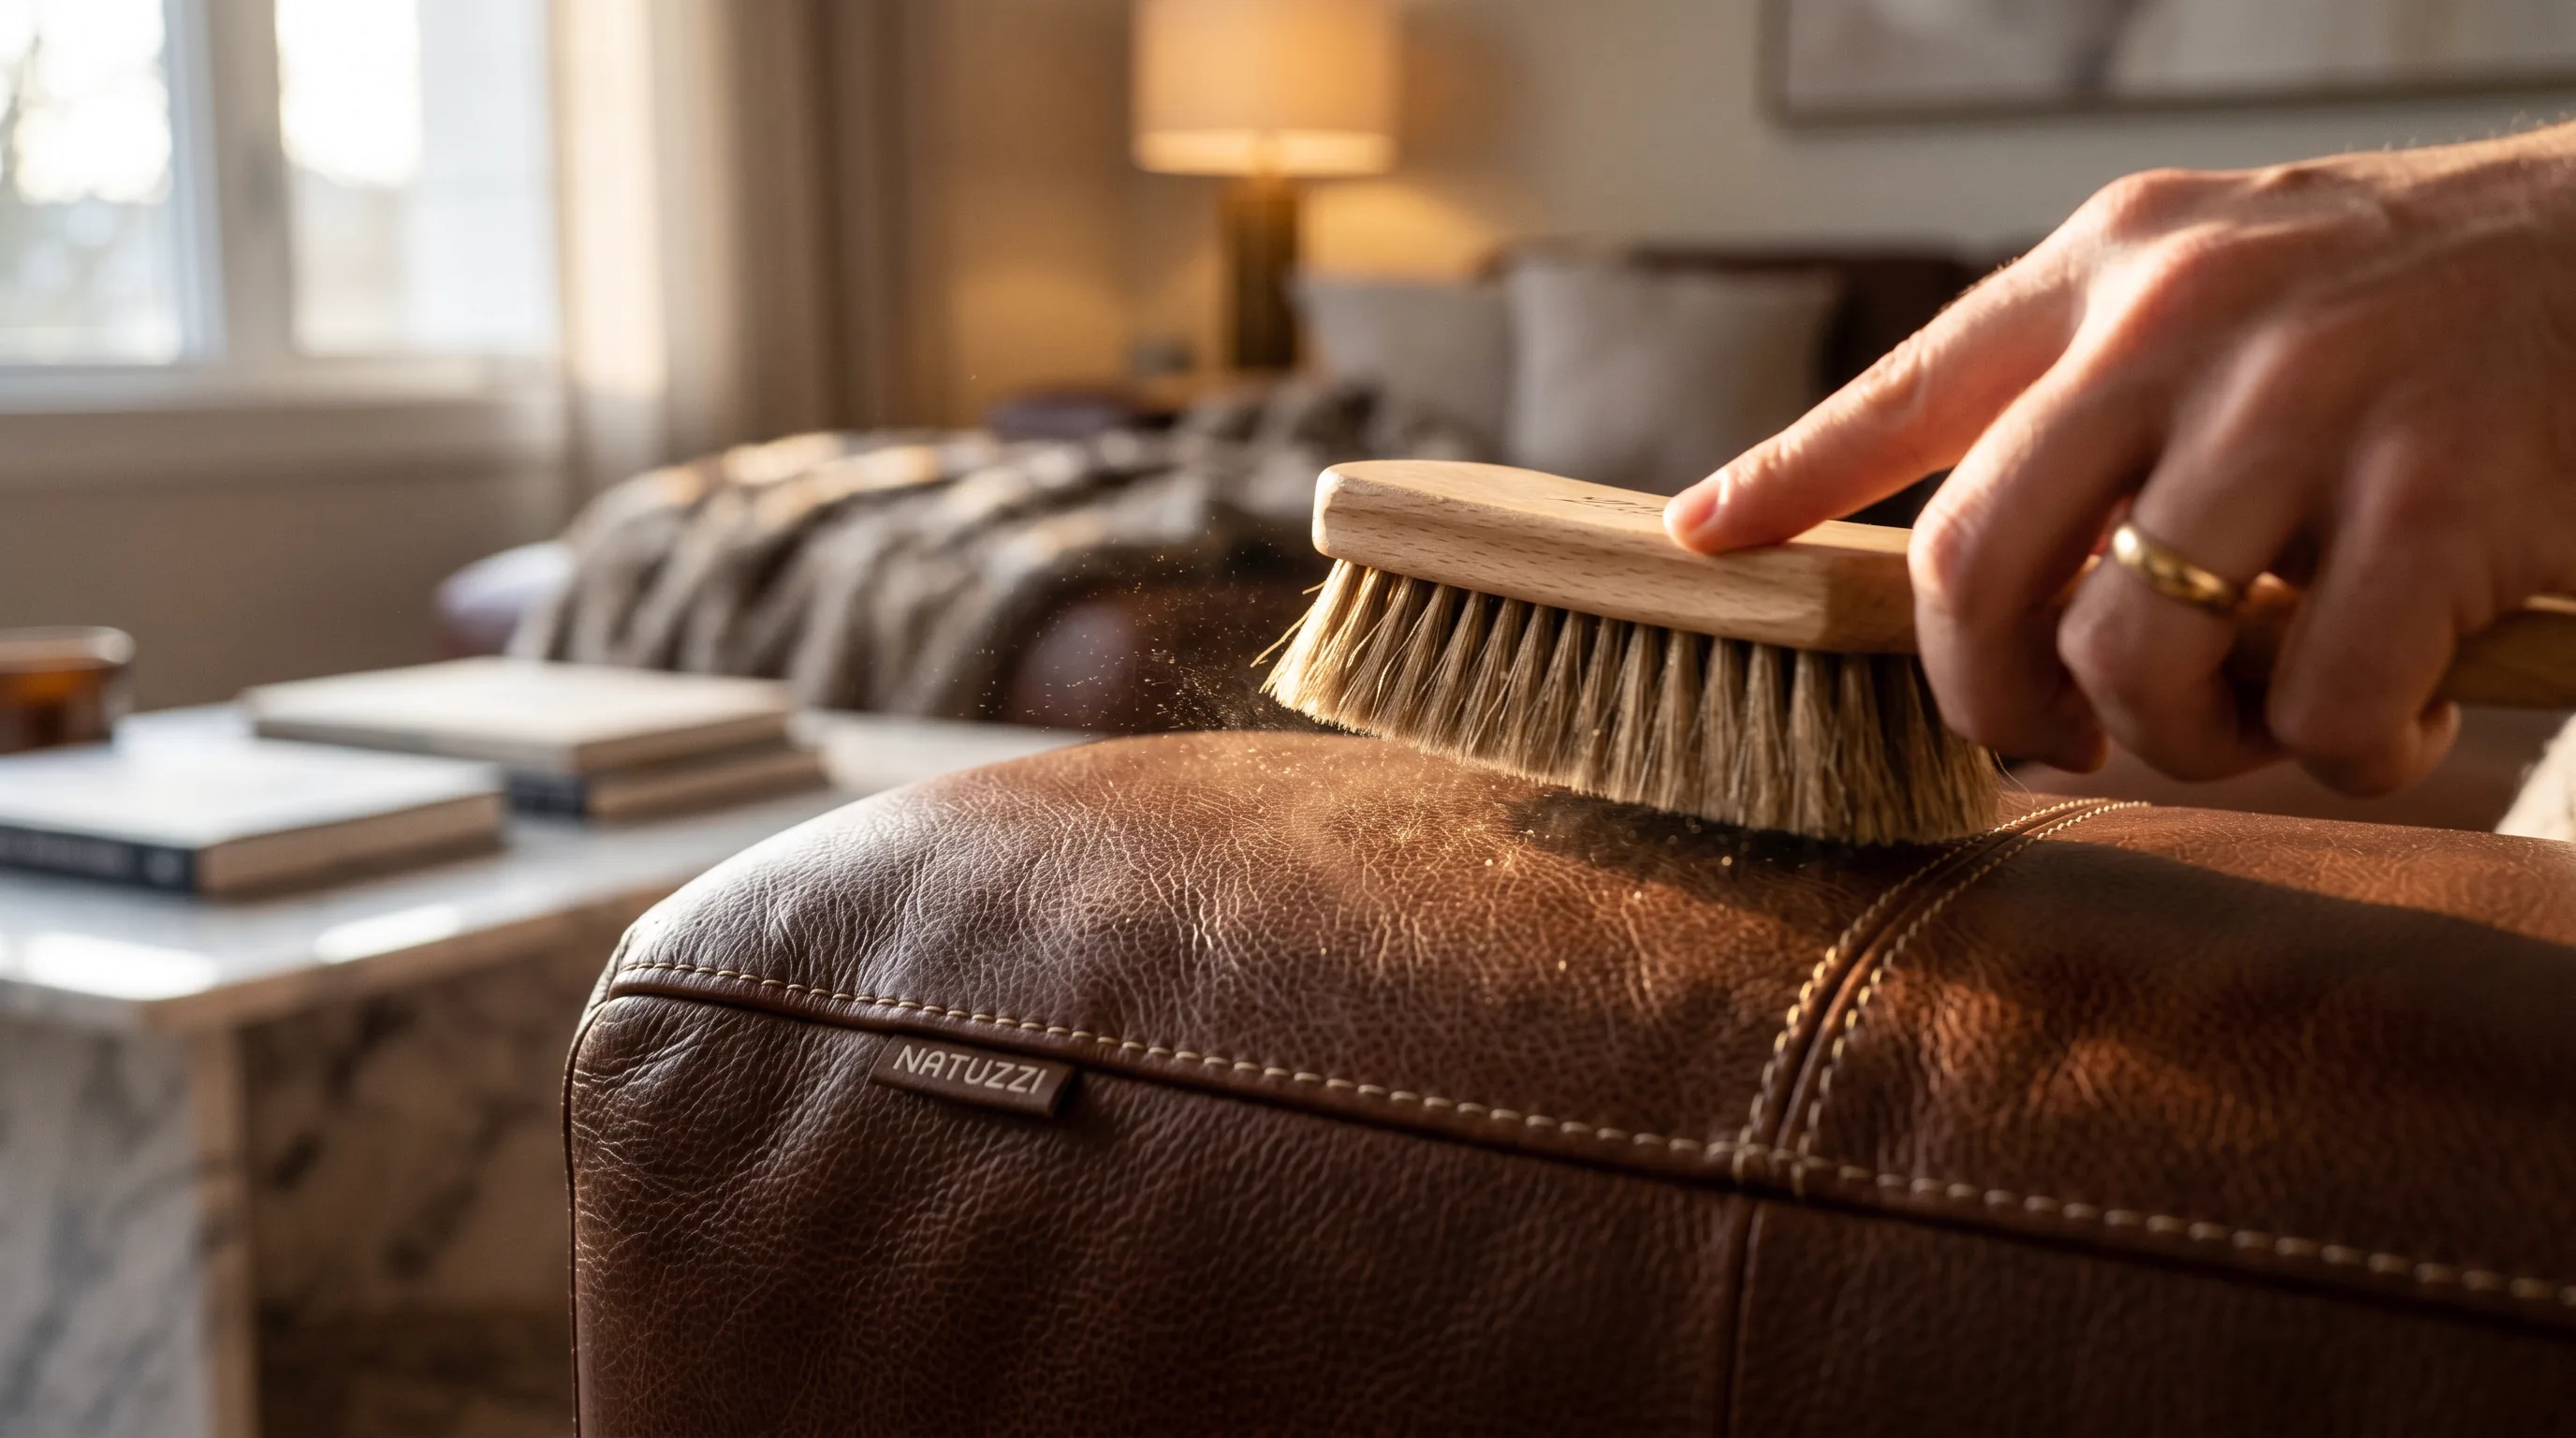
- Soft Horsehair Brush: The split ends of horsehair are ideal for deep-cleaning the grain and crevices without scratching the delicate surface of the leather.
- Premium Leather Conditioner: Look for products containing neatsfoot oil, lanolin, or beeswax. Avoid anything with "silicone" listed in the ingredients.
The Deep Cleaning Protocol
Professional leather cleaning is a multi-stage process that requires a systematic approach. Rushing through it or skipping steps will result in an uneven finish and potentially trapped dirt. Follow this sequence for a thorough, safe clean that mimics the results of a professional restoration shop.
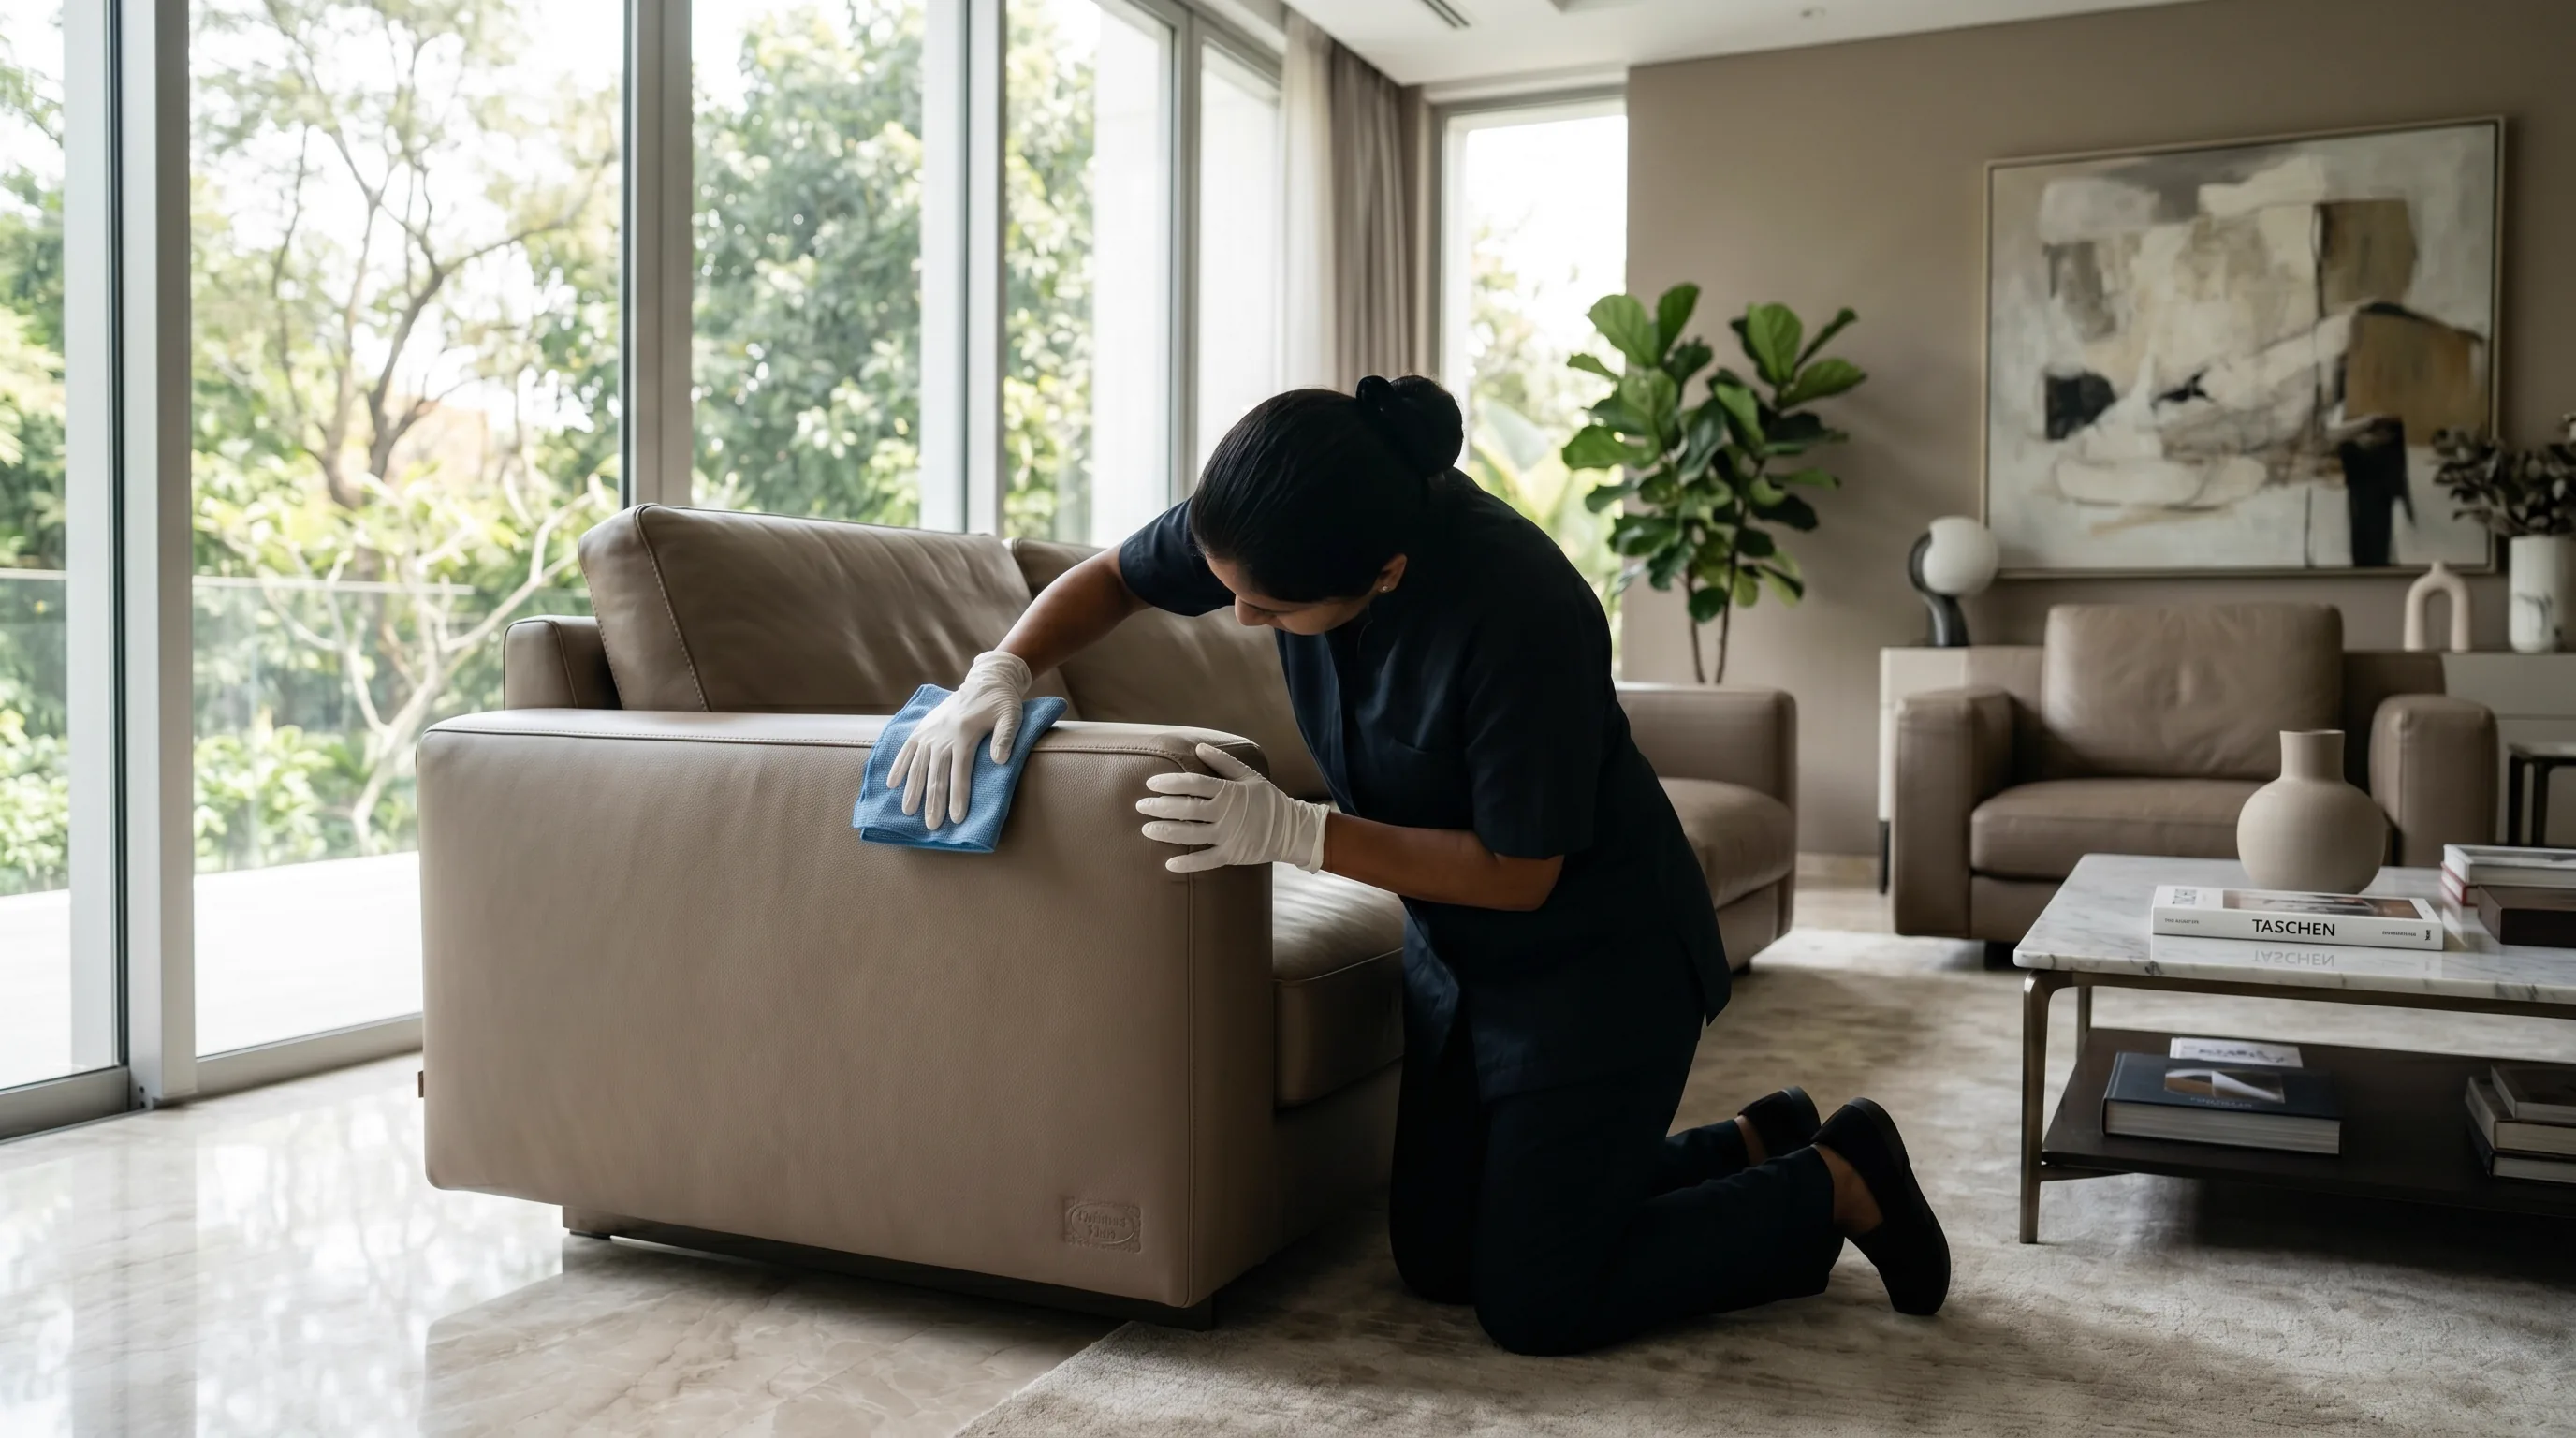
Step 1: Preparation and Vacuuming
The greatest enemy of leather is friction. Dust and grit act like sandpaper, wearing down the protective coating every time someone sits on the sofa. Begin by removing all cushions and using a vacuum with a soft brush attachment to clear every crevice. Pay special attention to the seams where dust tends to accumulate. If you have pets, ensure all hair is removed, as pet dander contains oils that can go rancid and damage the leather over time.
Step 2: Dry Dusting
After vacuuming, use a dry, clean microfiber cloth to wipe down the entire surface. This removes the fine layer of airborne dust that the vacuum might have missed. Dusting should be done in long, gentle strokes. Never scrub at this stage, as you might grind microscopic debris into the leather's grain.
Step 3: The Foaming Technique
Never spray a liquid cleaner directly onto the leather. Instead, apply the cleaner to a soft horsehair brush or a sponge and agitate it to create a foam. Working in small sections (about 2 square feet at a time), gently massage the foam into the leather using circular motions. The foam lifts the dirt out of the pores and grain without over-wetting the hide. Over-wetting leather can cause it to swell and then shrink unevenly as it dries, leading to distortion.
"The secret to professional leather care isn't the strength of the chemical, but the technique of the application. Gentleness is your greatest tool, and foam is your best vehicle." , TLR Master Craftsman, The Leather Restorators
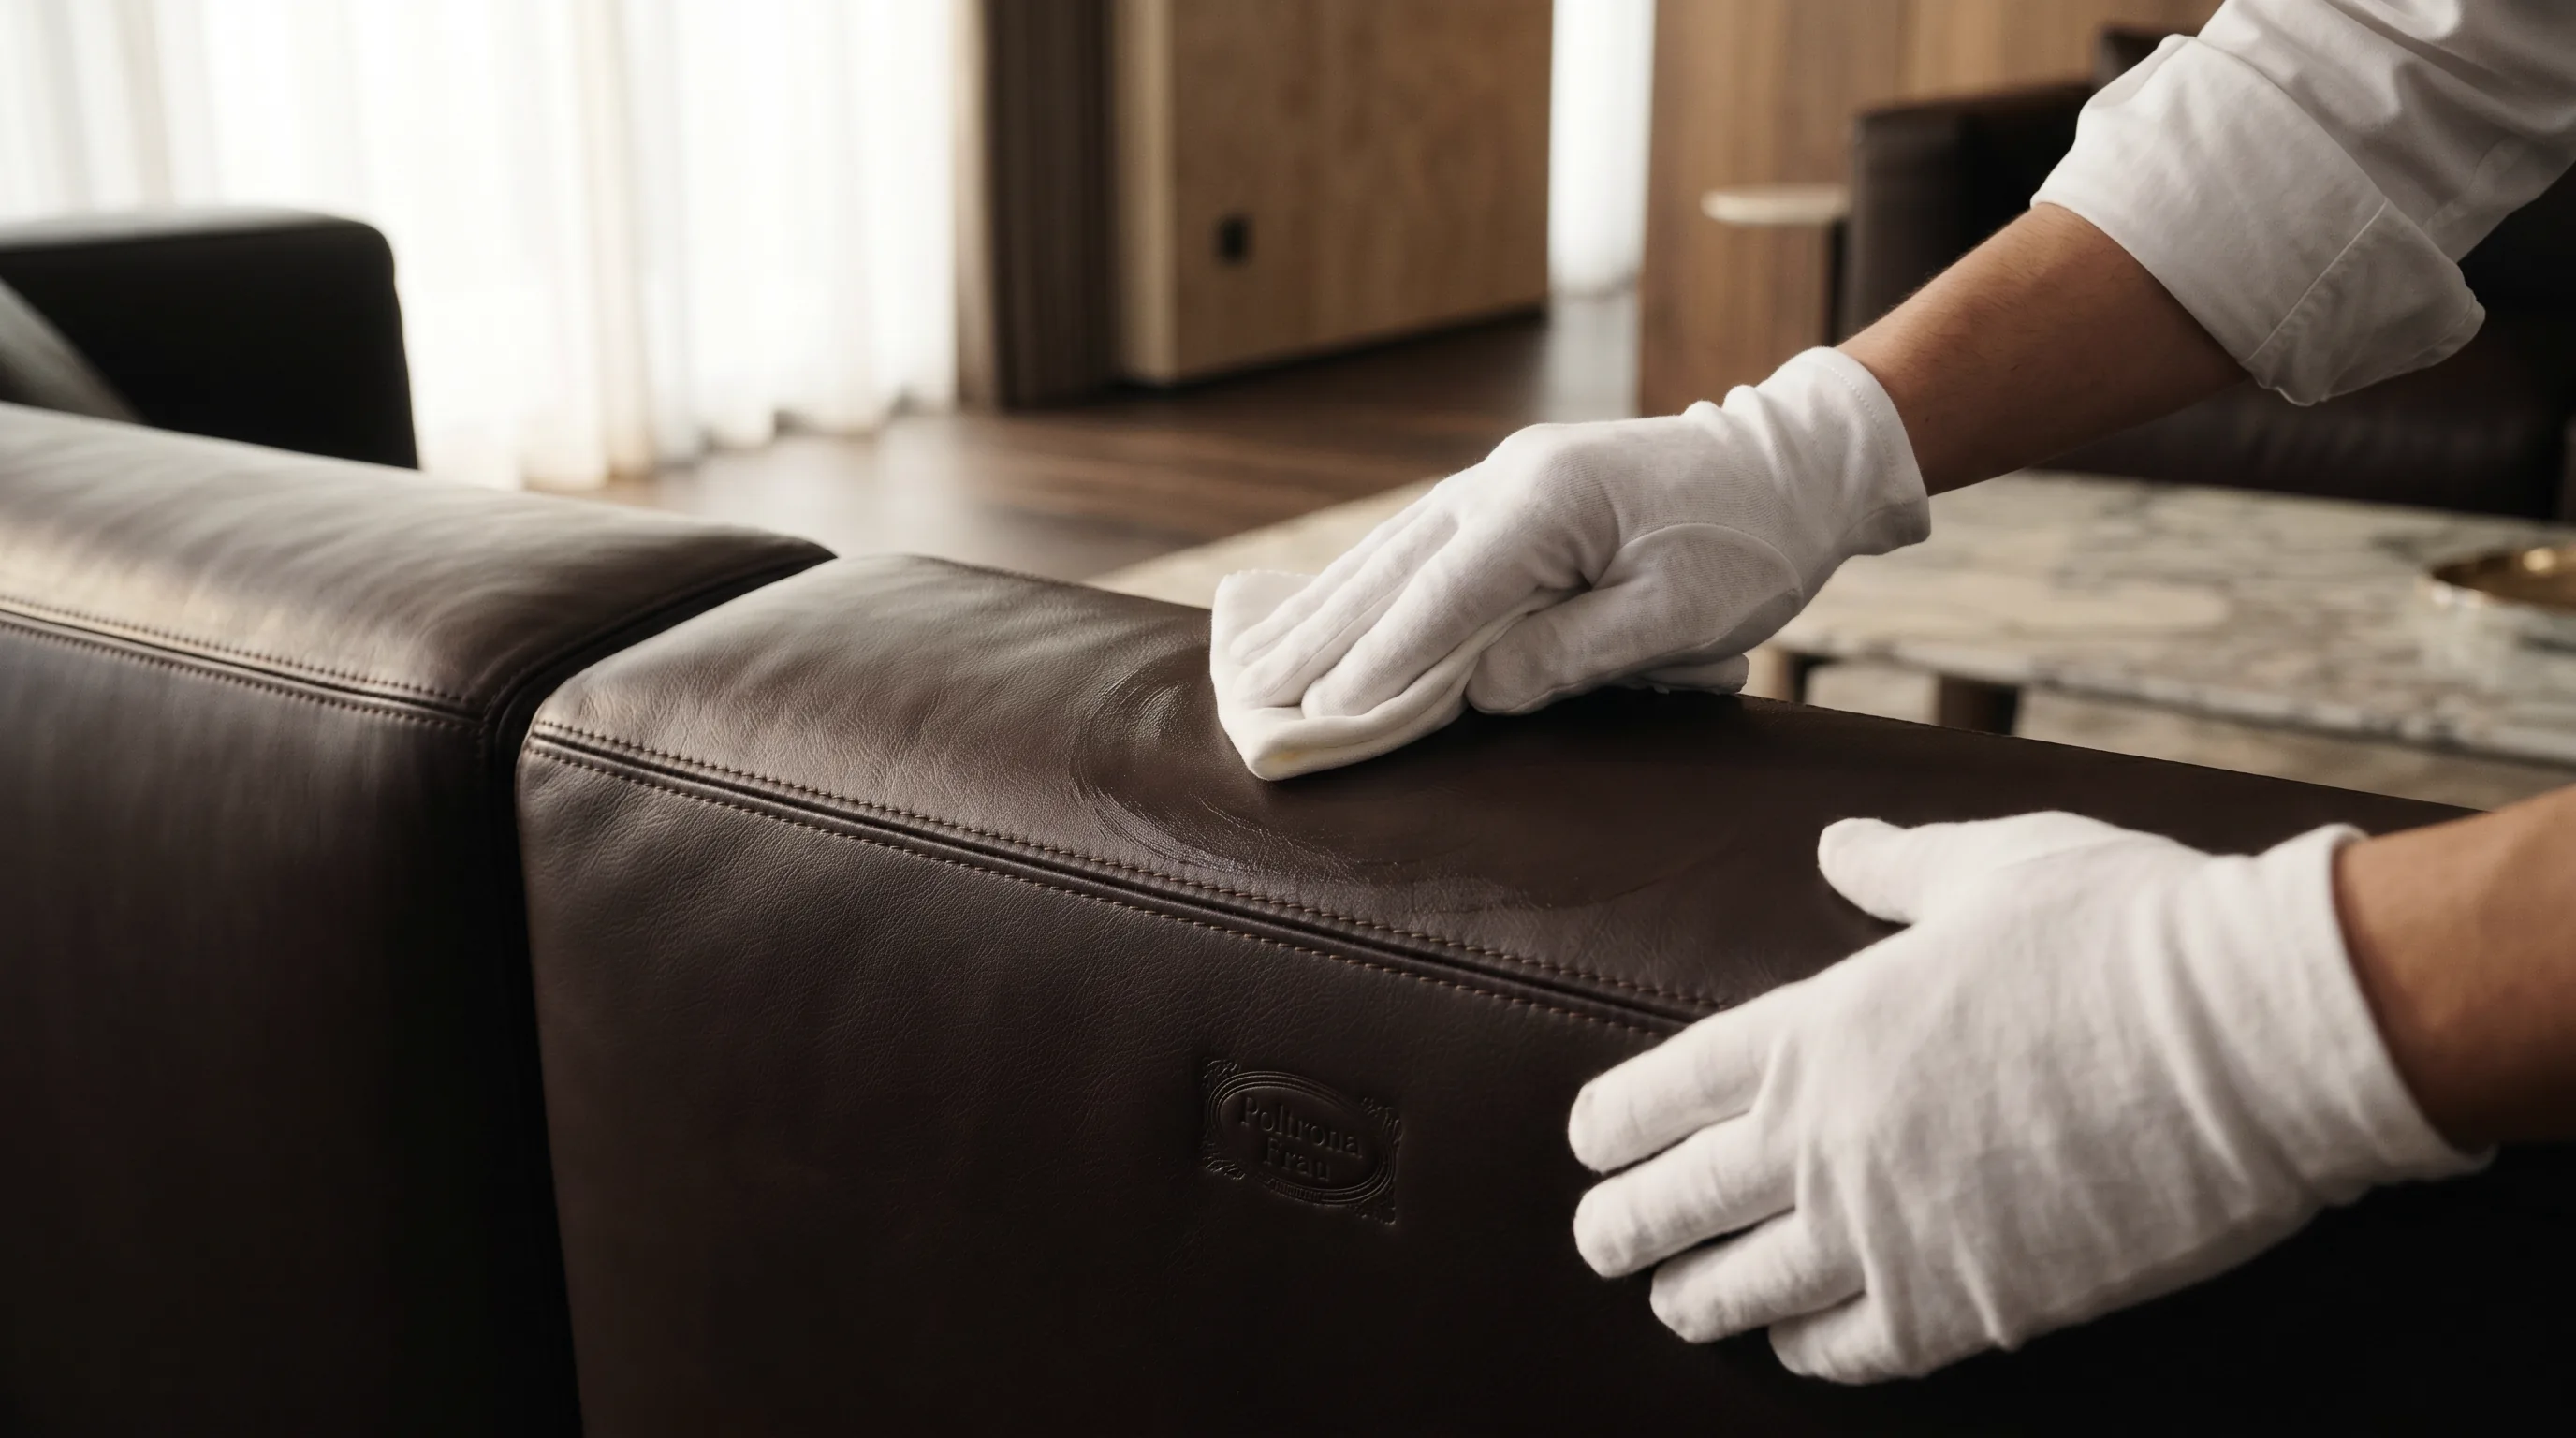
Step 4: Wiping and Rinsing
Once a section is cleaned, immediately wipe away the dirty foam with a slightly damp microfiber cloth (using distilled water). Do not let the cleaner dry on the leather, as it will redeposit the lifted dirt. Follow this immediately with a dry cloth to remove any remaining moisture. Leather should never stay wet for more than a few seconds during the cleaning process.
PRO TIP: If your sofa has deep "tufting" or buttons, use a Q-tip dipped in cleaner to reach the tight spaces where oils from skin and hair typically build up. These areas are often the first to show signs of darkening and "grease-soaking."
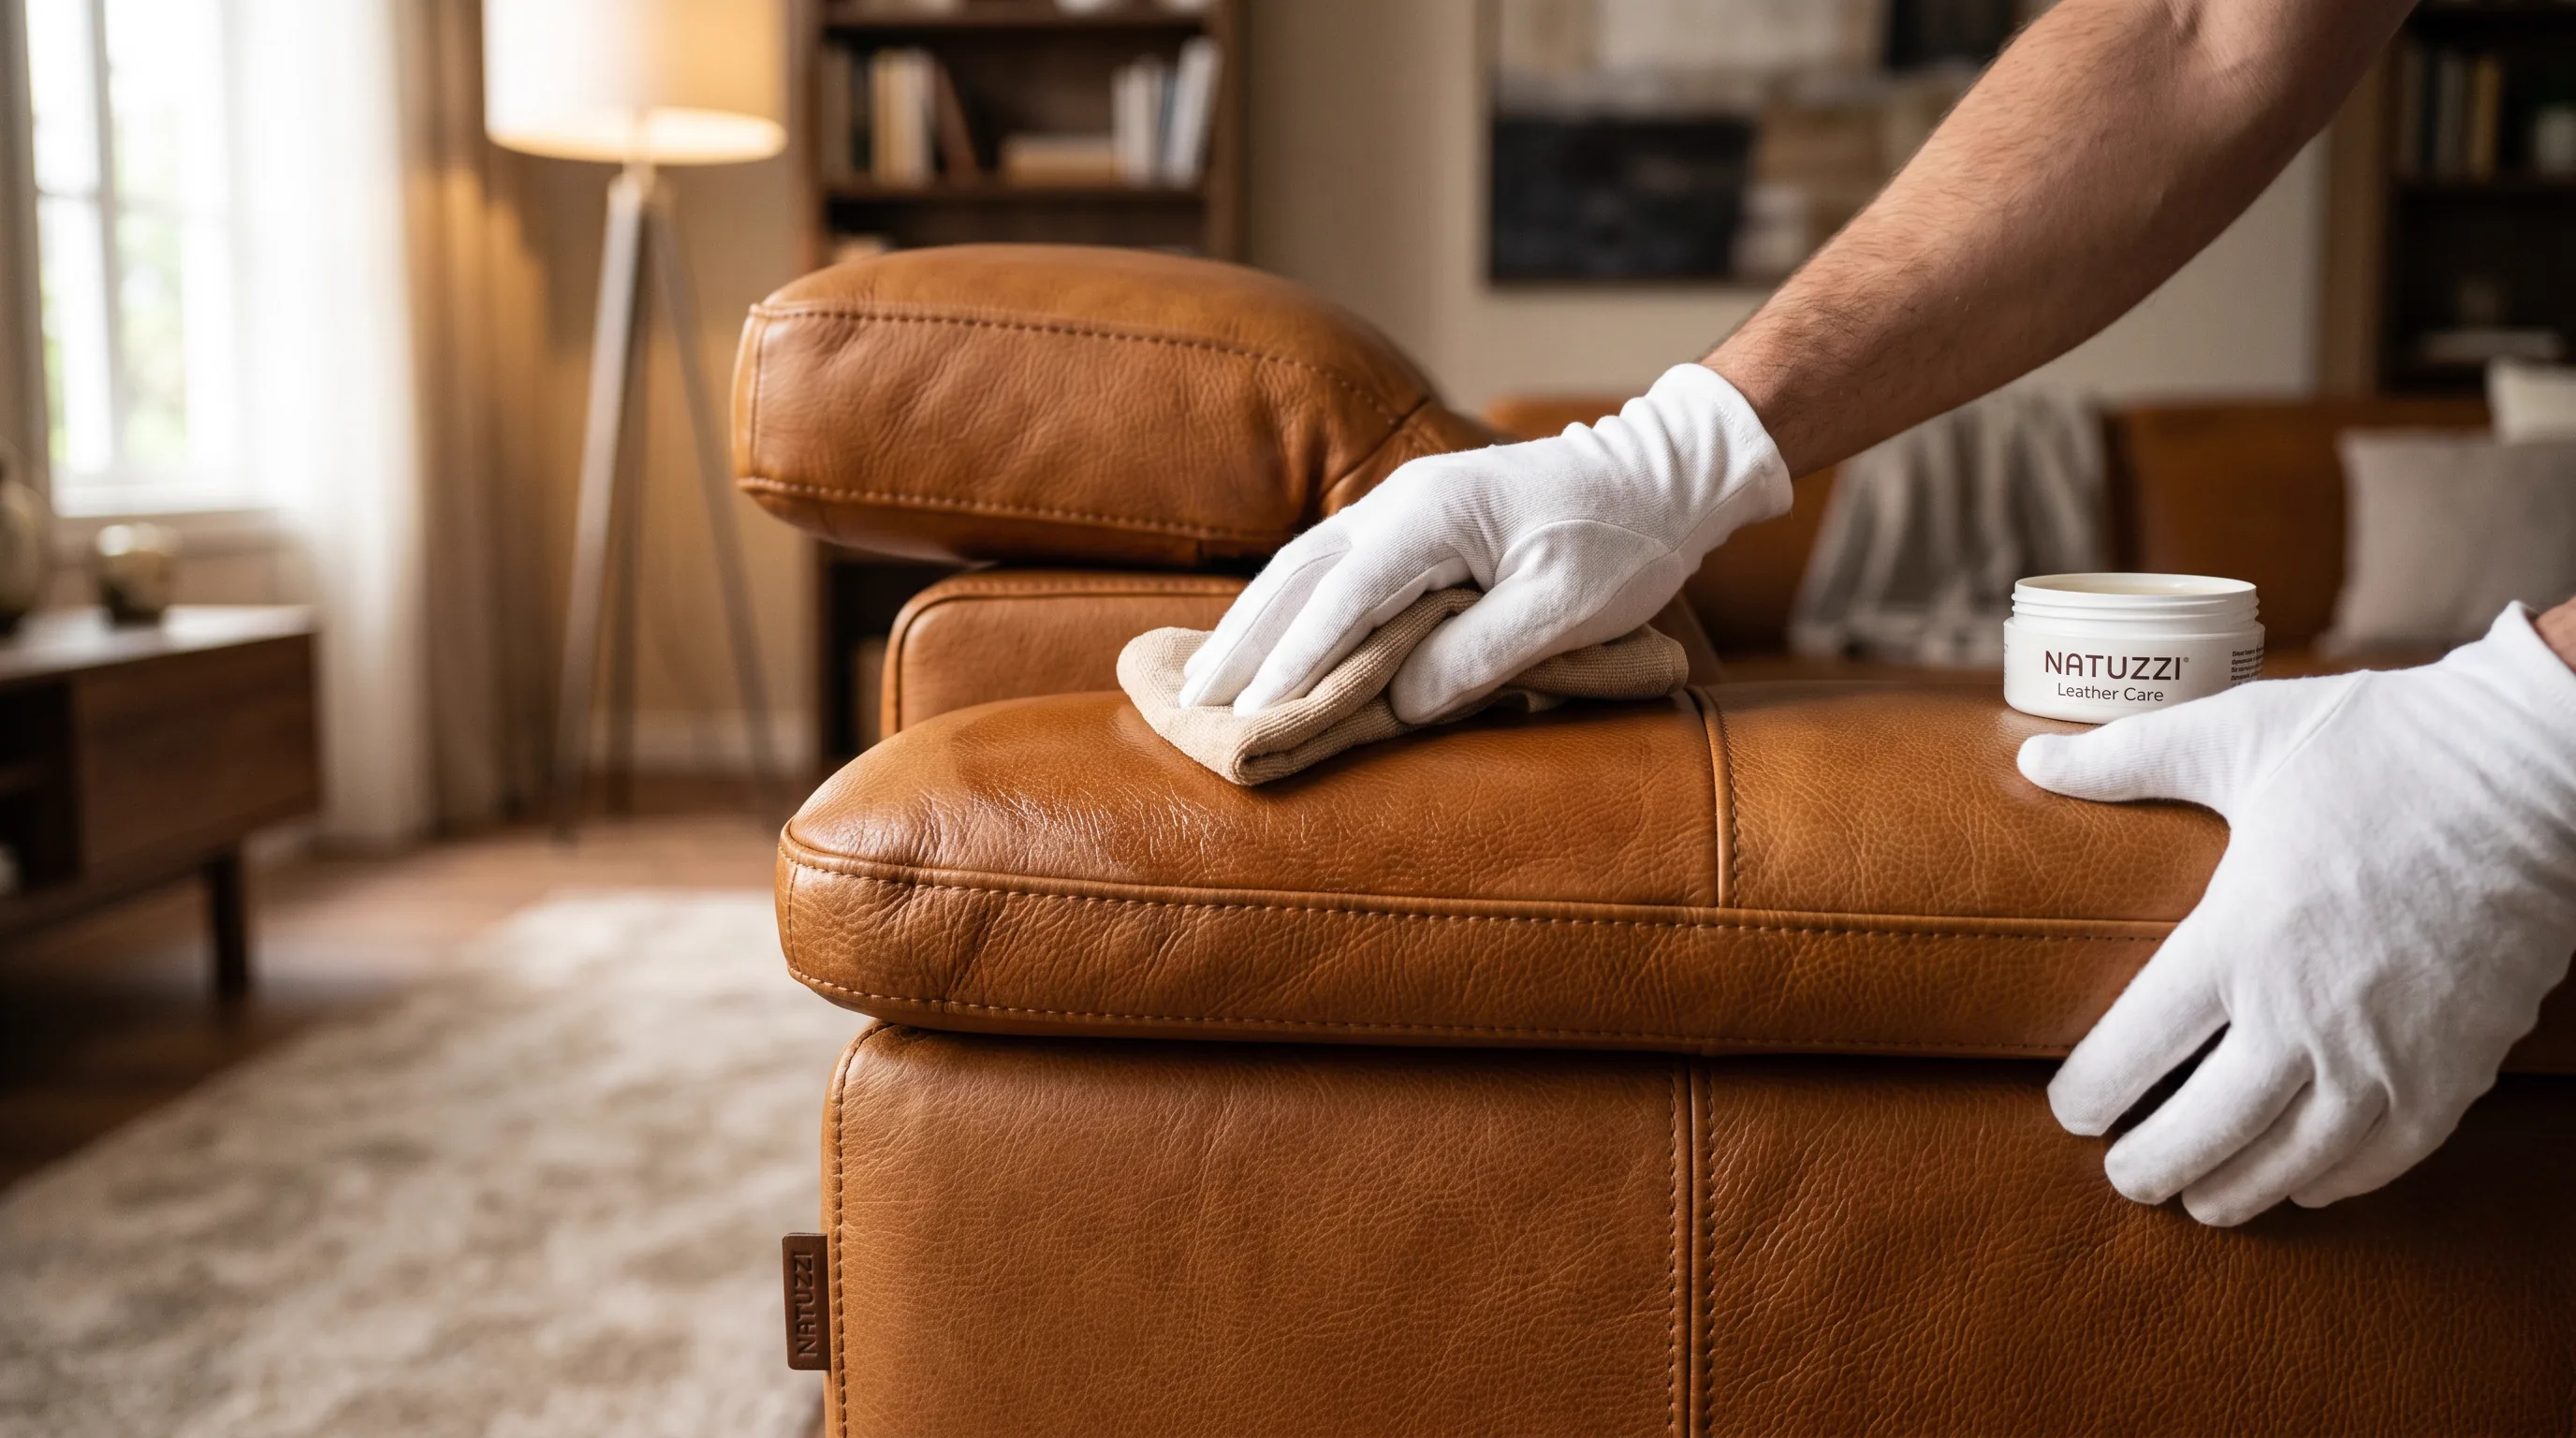
Conditioning & Rehydration Science
Cleaning removes dirt, but it also removes some of the leather's natural moisture and oils. Without conditioning, leather will eventually dry out, become stiff, and crack. Conditioning is essentially "skincare" for your furniture. The goal is to replenish the "fatliquors" that were introduced during the tanning process but have evaporated over time.
Wait at least an hour after cleaning to ensure the leather is completely dry. Apply a small amount of premium conditioner to a microfiber applicator pad. Working one panel at a time, buff the conditioner into the leather using light, circular motions. You aren't trying to coat the surface; you are trying to get the leather to absorb the nutrients. Let the conditioner sit for 15-20 minutes, then buff the entire sofa with a clean, dry cloth to remove any excess and restore a soft, natural glow. If the leather is particularly dry, it may "drink up" the first coat; in such cases, apply a second thin layer.
Emergency Stain Removal
Accidents happen, even in the most careful households. The key to successful stain removal on leather is speed and the right solvent. Here is a masterclass in handling common household spills without causing permanent damage:
- Ink Stains: For protected leather, a specialized ink remover stick is best. If you don't have one, blot the area with a damp cloth immediately. Avoid using hairspray or rubbing alcohol, as these contain solvents that can dissolve the leather's finish along with the ink.
- Grease and Body Oils: If the stain is fresh, sprinkle cornstarch or talcum powder on the area and let it sit for 24 hours. The powder will draw the oil out of the leather. Brush it off gently and clean the area with a pH-balanced cleaner. This is particularly effective for armrests and headrests.
- Water Spots: If a spill leaves a ring, use a damp cloth to gently blend the spot outward toward the seams of the cushion. This "feathers" the moisture so it doesn't leave a hard line when it dries. Never use a hairdryer to dry a water spot.
- Wine or Juice: Blot (don't wipe!) the spill immediately with a dry cloth. Use a slightly damp cloth with a drop of leather cleaner to gently lift any remaining pigment.
Common Pitfalls To Avoid
Many "DIY" leather cleaning tips found online are actually harmful in the long run. The internet is full of "hacks" that provide a quick fix but lead to long-term degradation. Avoid these common mistakes to ensure your sofa lasts for decades:
- No Vinegar or Lemon Juice: These are highly acidic (pH 2-3) and will break down the leather's fibers and finish over time. They are great for glass, but terrible for skin-based materials.
- No Baking Soda: It is abrasive and highly alkaline. It can cause the leather to become brittle and eventually lead to "crackle" patterns in the finish.
- No Direct Heat: Never use a hairdryer or space heater to speed up drying. High heat causes leather to shrink and lose its suppleness, making it feel like cardboard.
- No Magic Erasers: These are actually micro-abrasive sponges. They will strip the protective topcoat and pigment right off your leather sofa.
Long-Term Preservation Habits
Maintenance is a marathon, not a sprint. To keep your leather sofa in pristine condition, incorporate these habits into your lifestyle. In a climate like Delhi NCR, where dust is prevalent and humidity fluctuates, these steps are even more critical.
Weekly: Lightly dust with a dry microfiber cloth and vacuum the crevices. This prevents "dust-grind" from wearing down the finish. Wipe armrests and headrests with a dry cloth to remove body oils before they soak in.
Monthly: Check for any new stains, dry spots, or scuffs. Wipe down with a slightly damp cloth using distilled water if the sofa sees heavy use from pets or children.
Bi-Annually: Perform a full deep clean and conditioning as described in this guide. This frequency may need to increase to quarterly if your home has low humidity (during winter) or if the sofa is in a high-traffic area with direct sunlight.
Environmental Control
The longevity of your leather is directly tied to its environment. Leather is essentially skin, and just like your own skin, it reacts to heat, light, and humidity. To prevent premature aging, consider the following environmental factors:
1. Sunlight (UV Damage)
Direct UV rays will bleach the pigment out of your leather and break down the internal collagen structure. If your sofa is near a window, use UV-blocking films or curtains during peak daylight hours. Even protected leather will fade over time if constantly exposed to the harsh Delhi sun.
2. Humidity and Moisture
Ideal humidity for leather is between 40% and 55%. If the air is too dry, the leather will shrink and crack. If it's too humid (common during the Indian monsoon), you risk mold and mildew growth. Using a dehumidifier during the monsoon and a humidifier in the dry winter months will significantly extend the life of your upholstery.
3. Heat Sources
Keep your sofa at least two feet away from radiators, air conditioning vents, and space heaters. Forced air strips moisture from leather at an alarming rate, leading to "boardy" leather that loses its soft, inviting feel.
When to Call The Specialists
While home maintenance is essential for day-to-day care, some situations require the touch of a master craftsman. If your leather is showing signs of deep structural cracking, significant color loss, or large tears, DIY methods may cause more harm than good. At The Leather Restorators, we specialize in high-fidelity restoration that brings even the most neglected pieces back to life. Our process involves deep-pore extraction, custom color matching, and hand-applied protective finishes that are far superior to retail products.
Cleaning your leather sofa at home is about preservation. Restoration is about bringing back the soul of the piece. By following this guide, you can ensure that your sofa remains a beautiful and comfortable part of your home for years to come. But when the task becomes daunting, or when you want to achieve that "showroom new" look, remember that expert help is just a phone call away. Our technicians across Delhi, Noida, and Gurgaon are equipped with the latest European restoration technology to ensure your investment is protected for a lifetime.
Frequently Asked Questions
How do I identify my leather sofa type?
Apply a tiny drop of distilled water to an inconspicuous spot. If it soaks in and leaves a dark spot, you have Aniline or Semi-Aniline leather. If it beads up, you have Protected (Pigmented) leather. This simple test will determine the correct cleaning products to use.
Can I use vinegar to clean a leather sofa?
No. Vinegar is highly acidic (pH 2–3) and will break down leather fibers and finish over time. It may appear to clean initially, but it accelerates long-term degradation. Always use a pH-balanced leather cleaner instead.
How often should I clean my leather sofa?
Dust weekly, do a light wipe-down monthly, and perform a full deep clean and conditioning bi-annually. Increase to quarterly if the sofa is in direct sunlight or a high-traffic area with pets or children.
How do I remove grease stains from a leather sofa?
Sprinkle cornstarch or talcum powder on the fresh stain and leave for 24 hours. The powder draws oil out of the leather. Brush off gently, then clean the area with a pH-balanced leather cleaner. This works especially well on armrests and headrests.